You know what’s worse than carrying 40-pound bags of salt down to the basement? Forgetting to do it and realizing your water feels like liquid rock. It’s one of those household chores that sits in the “out of sight, out of mind” category until it becomes a problem.
As a systems engineer, I hate “smart” appliances that have a dedicated app with a monthly fee and a security hole the size of your front door. Yet at the same time I want my appliances to be smart, on my own terms in my own security zone for $0 a month.
My water softener sits there, chugging along, with zero feedback loop until it’s too late. I decided to fix that. I didn’t need a $300 “smart” softener, I needed a $5 sensor and an afternoon. I now get a proactive alert on my phone when its time to hit the store, before we run out. I also get the pleasure of nerdy judgement when I geek out on how I track my watersoftener’s salt levels.
The Hardware: Built for the Brine
We’re dealing with a brine tank here. It’s humid, corrosive, and potentially gross. A standard ultrasonic sensor (like the HC-SR04 you use in basic Arduino kits) would dissolve in a week. Its also full of a supersaturated salt water solution that makes the ocean look like a fresh water lake. Naturally, we’re going to use something that can survive a Canadian winter’s worth of road salt without a hiccup.
The Solution:
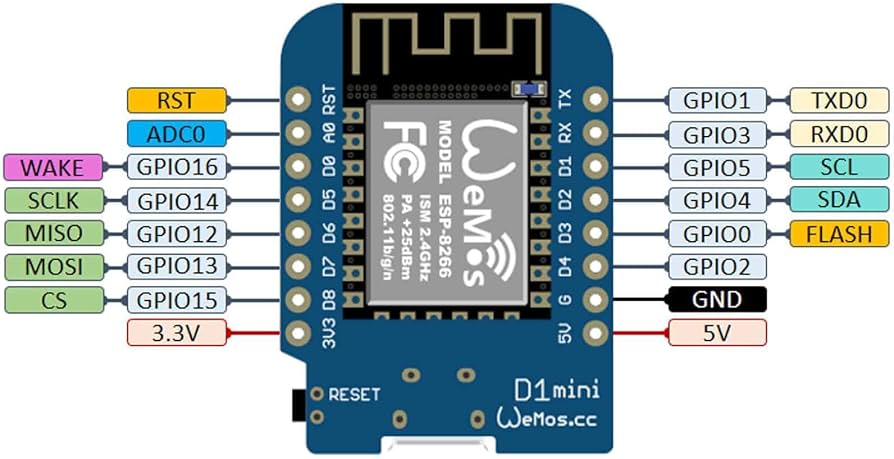
Wemos D1 Mini (ESP8266): The brains. Cheap, WiFi-connected, and easily powered via USB. (Aliexpress or Amazon). (Check your model for exact pinouts)
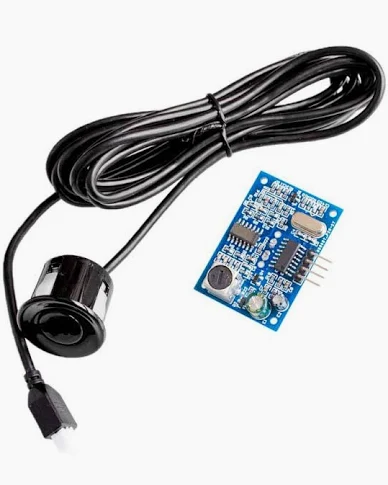
JSN-SR04T Waterproof Ultrasonic Sensor: The eyes. This sensor has a sealed, waterproof probe separated from the control board by a cable. This is critical—the sensitive electronics stay outside the tank, while the rugged probe goes inside. (Aliexpress or Amazon has them)
The Wiring: Keep It Simple
This is a straightforward build. We just need to connect the sensor to the microcontroller.
Pinout:
VCC (Sensor) → 5V (Wemos) Note: The JSN-SR04T requires 5V logic.
GND (Sensor) → G (Wemos)
TRIG (Sensor) → D2 (Wemos GPIO4)
ECHO (Sensor) → D1 (Wemos GPIO5)
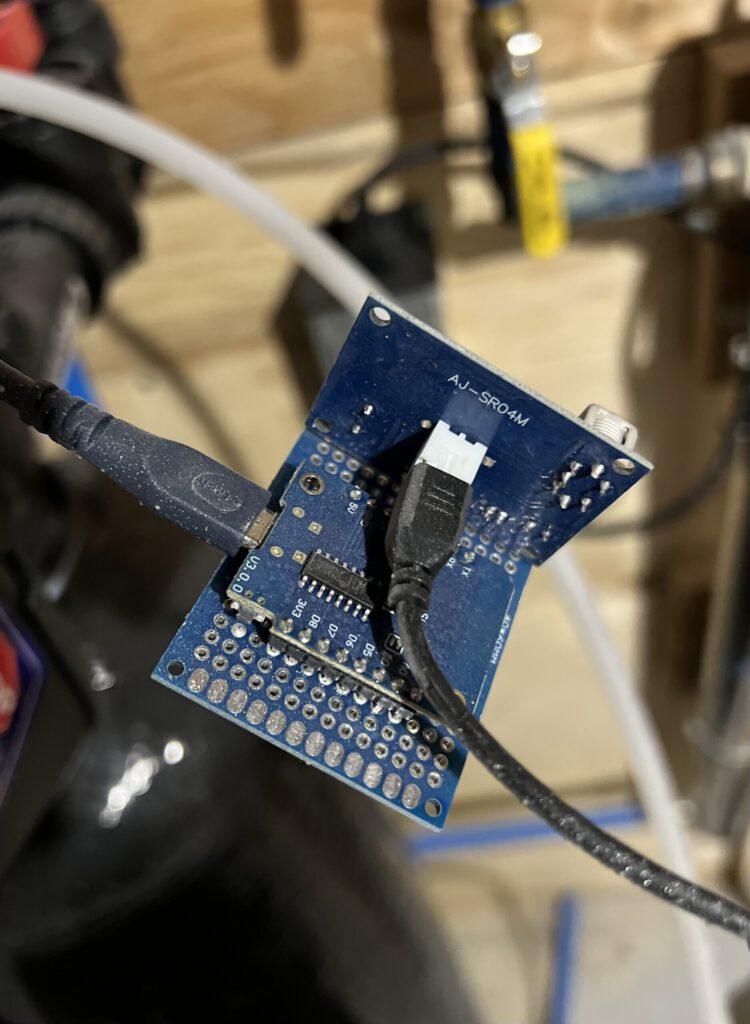
My setup is soldered onto a perf board to keep it ridgid and wins no beauty contest, but its been working for over a year without any complaints
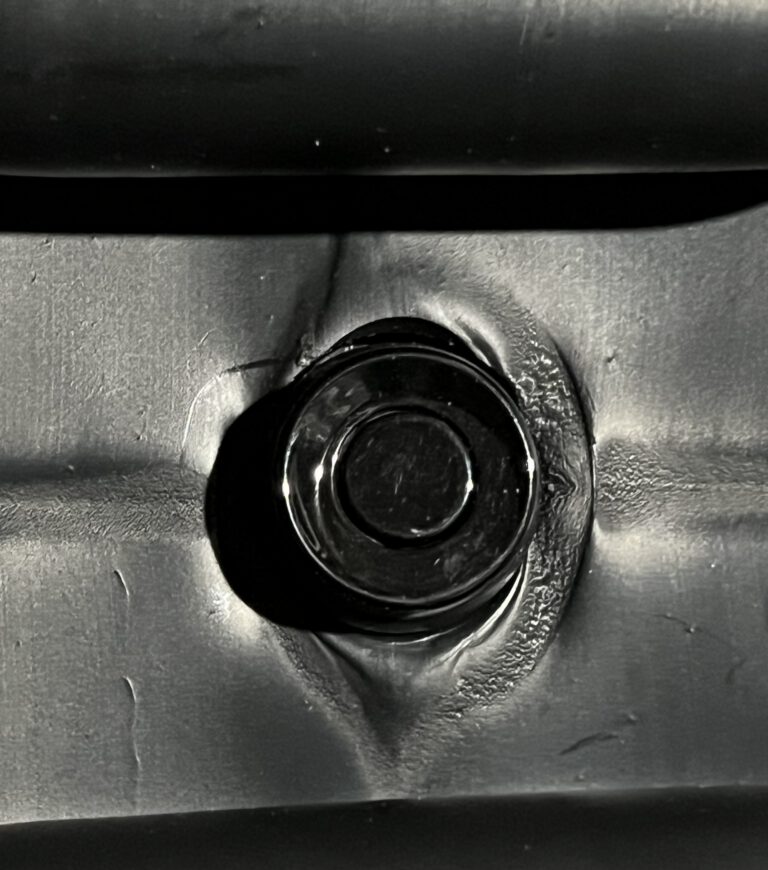
The sensor sits in the top of the lid (ironically it had a pop-out insert that fit the sensor perfectly).
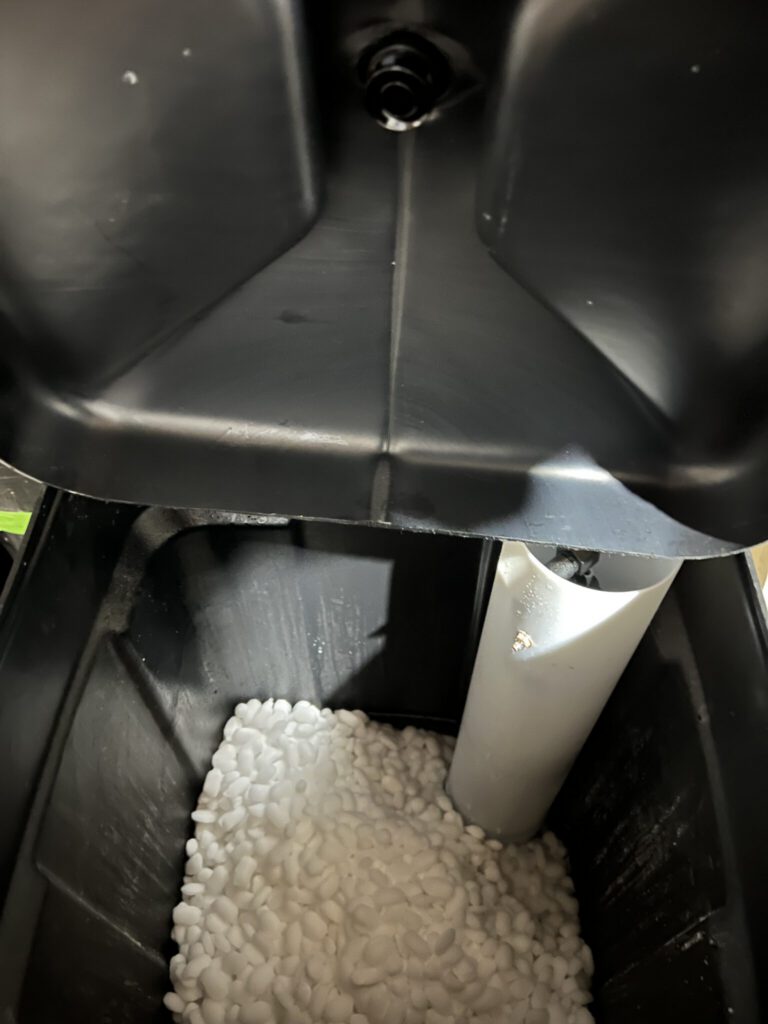
The sensor sits flush on the top of the lid pushed through the hole.
The Software: ESPHome & The Math
I use ESPHome for this because it integrates natively with Home Assistant and handles the sensor logic directly on the device. In my case, i used the addon in Home Assistant to set it up and customize the YAML using the USB port on my HomeAssistant server to bootload the initial firmware.
Here is the YAML configuration. We use the `ultrasonic` platform and a lambda filter to convert the distance (meters) into a percentage remaining.
Create a new ESPHome device using the esp8266 model and use the following below the template code (removing duplicates) to build it out.
esphome:
  name: watersoftener
  friendly_name: WaterSoftener

esp8266:
  board: esp01_1m

sensor:
  - platform: ultrasonic
    trigger_pin:
      number: GPIO4 #d2
      inverted: True
    echo_pin: GPIO5 #d1
    name: "Water Softener Salt Level Percent"
    update_interval: 30s
    timeout: 4m

    filters:
    # Calculates in %
    # Replace 0.683 by the height of your container in centimeters. From the sensor to the bottom.
       - lambda: return (0.683-x)*(100/0.479); #tank full is 0.204m from top so offset divider by that.
    unit_of_measurement: "%"
Understanding the Math
The sensor measures distance from the lid to the salt.
Empty Tank: Distance is large (e.g., 0.683m).
Full Tank: Distance is small (e.g., 0.204m).
You need to measure your own tank:
1. Total Depth: Distance from sensor to the bottom of the tank. (ie mine is 0.683 above)
2. Fillable Depth: The depth of the salt when full. (Total Depth – Distance to Salt when Full). (Mine is 0.479 above)
The Result: Data You Can Use
Once flashed and installed, you get a live reading in Home Assistant. No more guessing.

And the best part? You can see the trend over time. You can actually see when the softener regenerates and uses salt.

You can clearly see the “steps” down where salt is consumed during regeneration.
Conclusion
This project cost less than a bag of salt and saved me from the “why is the water slimy?” conversation. It’s a perfect Saturday afternoon build that solves a real problem. Go build it!